 |
Account Login |
Black and White Made Easy |
| Introduction: |
| In this tiny little tutorial you will learn how to turn your images to black and white and adjust the levels to make it look right. |
| Let's Get Started: |
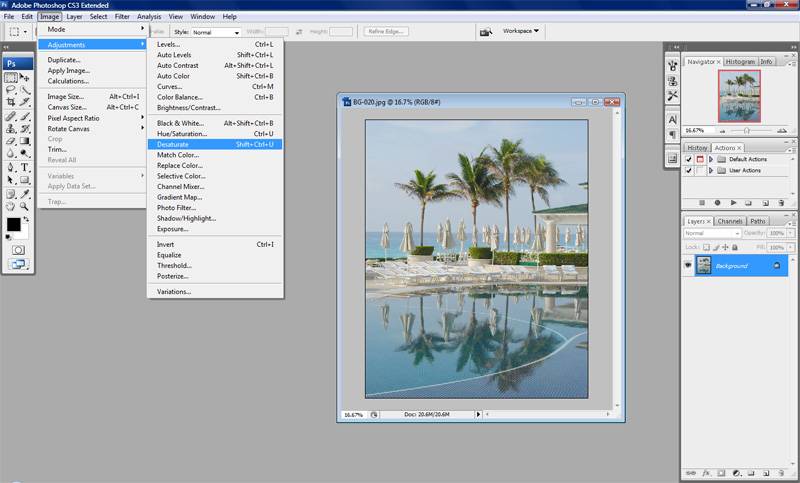
| 1. Ok so I'm sure that you already have your image open so first you will need to select Image -> Adjustments -> Desaturate. |
 |
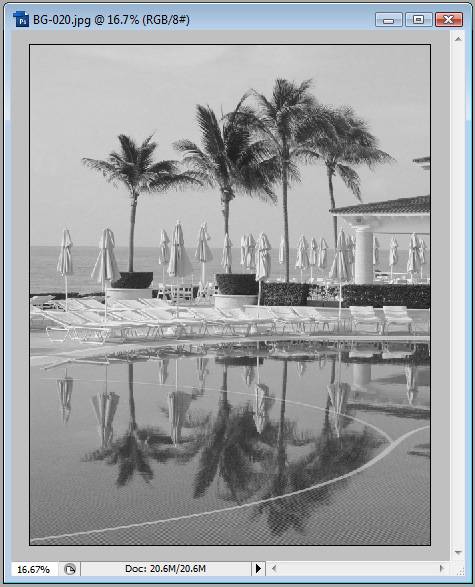
| 2. You will now have a not so great looking black and white image like the following. |
 |
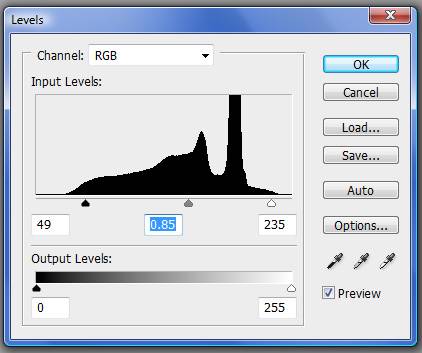
| 3. Ok so the last thing we need to do is adjust the levels. Select Image -> Adjustments -> Levels from the file menu bar. Ok so this part I cant help you out to much with. Each person has a different idea of what the image should look like. From this window drag the three pointers around till the image looks right to you. This will take a little practice, but I will show you what my choices were for this image. |
 |
| 4. Ok you're done. Just for good measure I will show the the before, middle, and after of the images we worked on. |
 |
| Conclusion: |
| You're Done! Enjoy this new little tool we've placed in your arsenal. |
Home | Tutorials | Articles | Free Software | Advertise With Us | Contact Us
© 2008 All About Coding